Rebar Couplings: The Modern Connection for Sustainable Structures
In contemporary architecture and engineering, rebar reinforcement is the beating heart of every structure—a process that directly influences a building's resistance, cost-efficiency, and construction speed. Within this framework, the method used to connect reinforcement bars plays a pivotal role in determining the final quality and economy of the build.
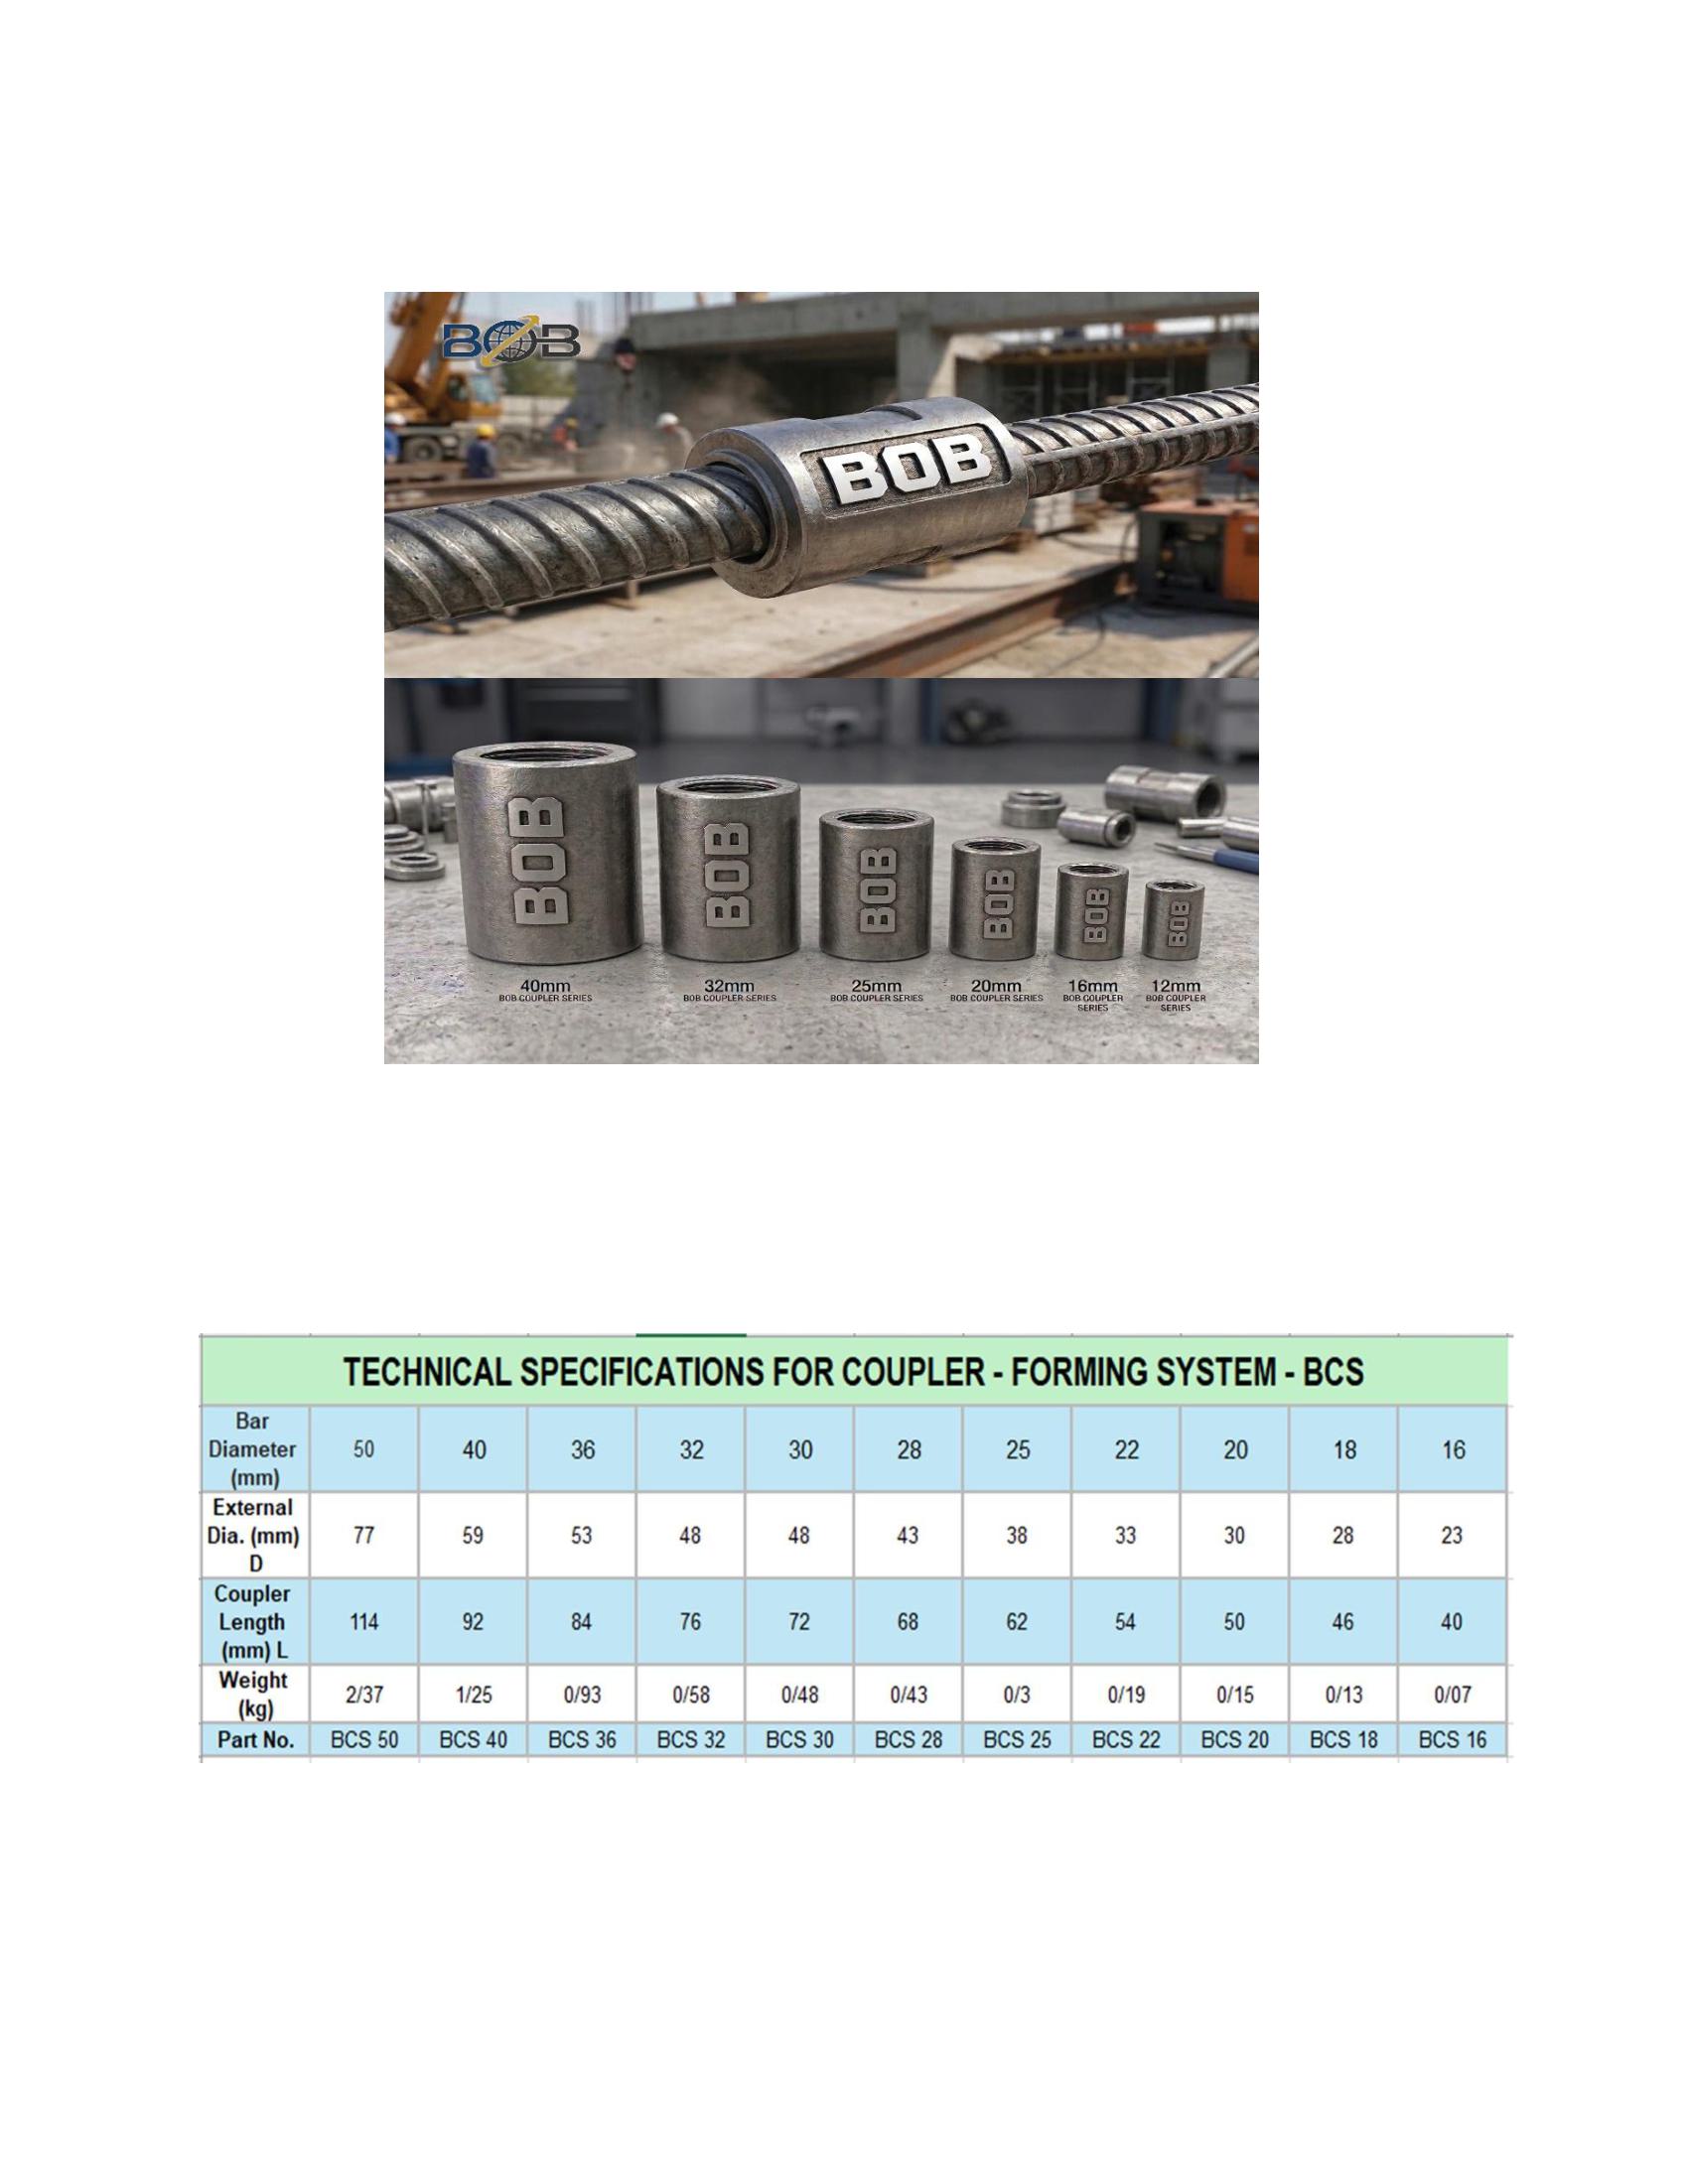
What is Rebar Couplings (Mechanical Splicing)?
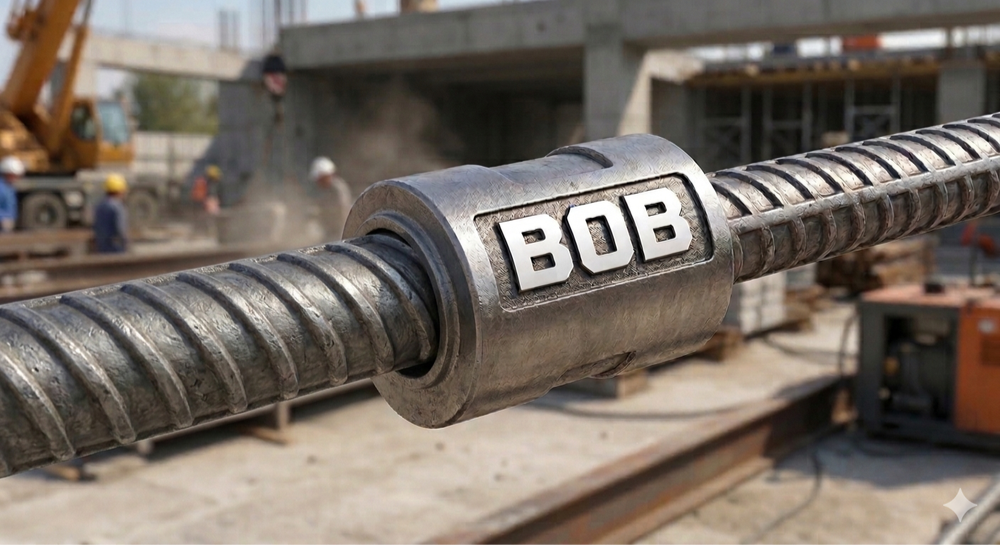
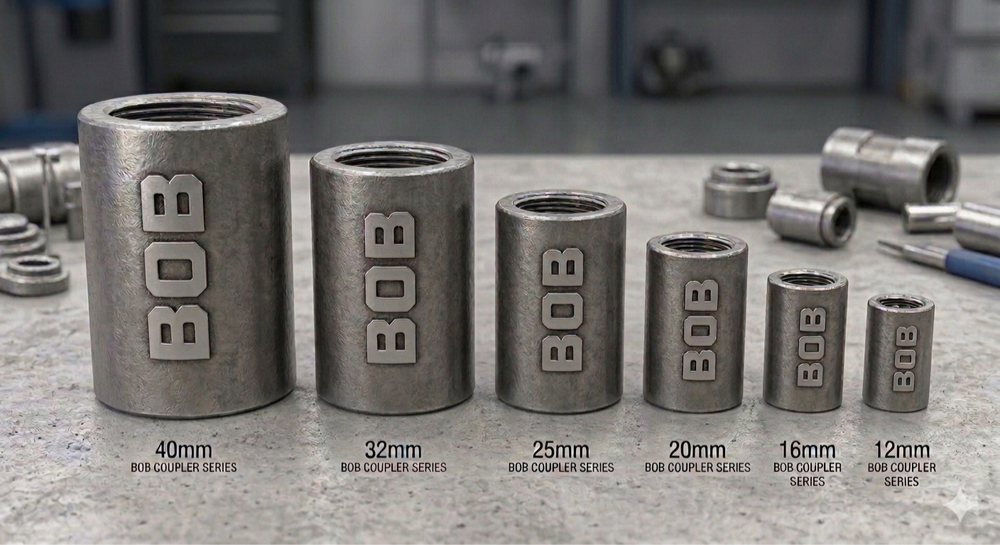
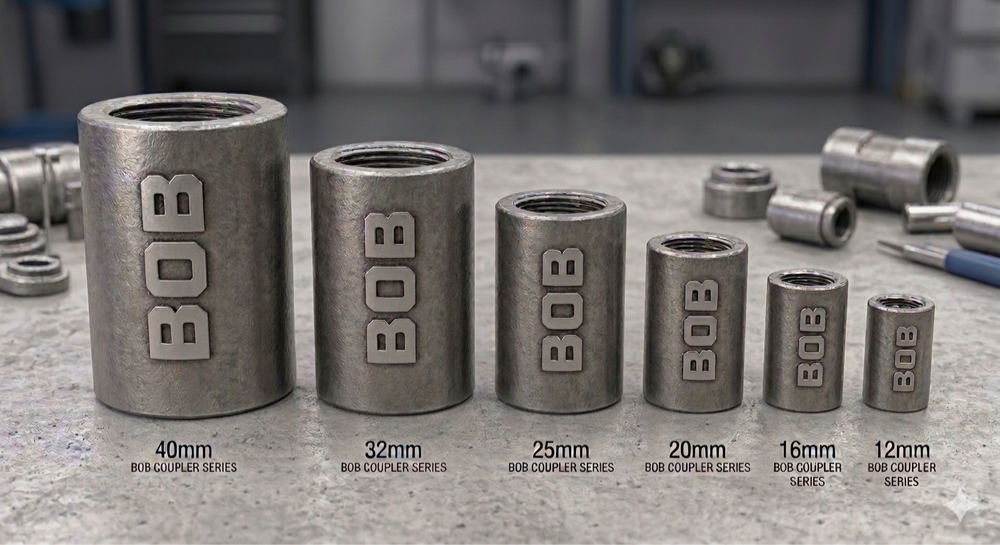
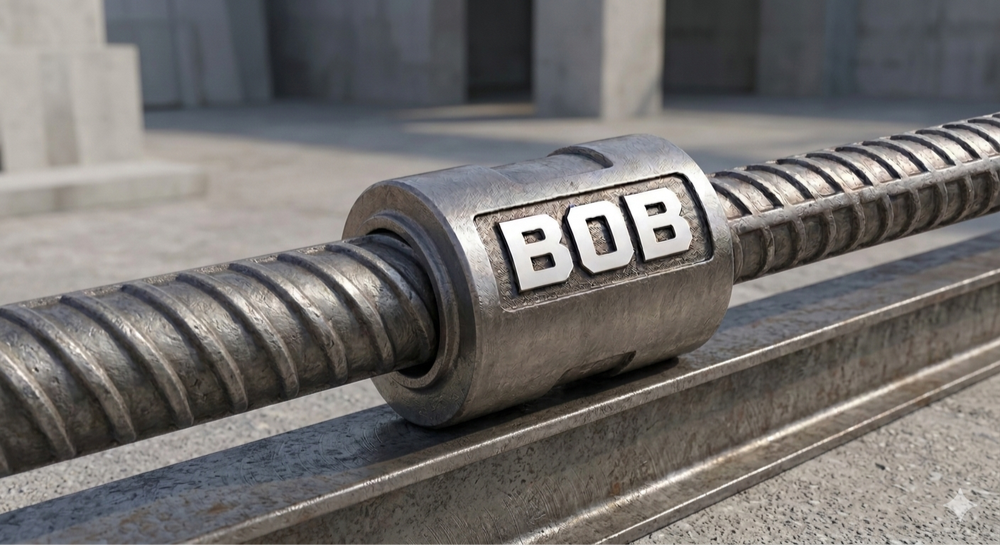
Rebar Couplings, officially known as Mechanical Splicing, is an advanced technology for the longitudinal connection of two reinforcement bars. In this technique, two rebars are aligned end-to-end and joined seamlessly by a precisely engineered steel component called a Coupler.
The Challenges of the Traditional Method: Overlap Splicing
Before the widespread adoption of couplers, overlap splicing was the dominant method. However, this method carried significant structural and economic drawbacks:
Economic Inefficiency: A substantial, unnecessary amount of steel was buried within the concrete due to the required overlap length, leading to a sharp increase in material costs.
Congestion and Structural Vulnerability: The excessive density of rebars at the connection point led to poor quality concrete placement and compromised the connection's integrity, whose final strength remained heavily dependent on the surrounding concrete's quality.
Increased Structural Dimensions: To comply with the standard ratio of steel to concrete, designers were forced to specify larger column dimensions, consequently shrinking the usable interior space of the structure.
The Advantages of Rebar Couplings: The Economic and Resilient Solution
The Couplings method was designed precisely to overcome these challenges and maximize efficiency:
Optimal Steel Utilization & Economic Savings: By completely eliminating the overlap length, rebars are connected end-to-end, resulting in the most efficient use of steel possible and leading to dramatic material cost reductions.
Superior Strength and Safety: The mechanical connection creates strength that is independent of the surrounding concrete. The integrated rebar network is robust and reliable, irrespective of the concrete's placement quality.
Reduced Column Sizes and Increased Space: Couplings allow the standard steel-to-concrete ratio to be maintained within smaller dimensions. The subsequent reduction in column sizes directly translates to increased usable and functional interior space.
Enhanced Concrete Placement Quality: The use of couplers significantly reduces rebar congestion. This ensures the concrete can achieve better and more complete contact with the reinforcement, thereby boosting the foundation's overall structural integrity.
In summary, Rebar Couplings are a smart investment that not only achieves cost reduction and lighter structural weight but also unequivocally guarantees the superior quality and long-term durability of the structure.


.png)